![](http://www.comland.tech/wp-content/uploads/2021/01/20201030_172200.jpg)
Рады снова видеть Вас на нашем сайте!
Сегодня будет много картинок :).
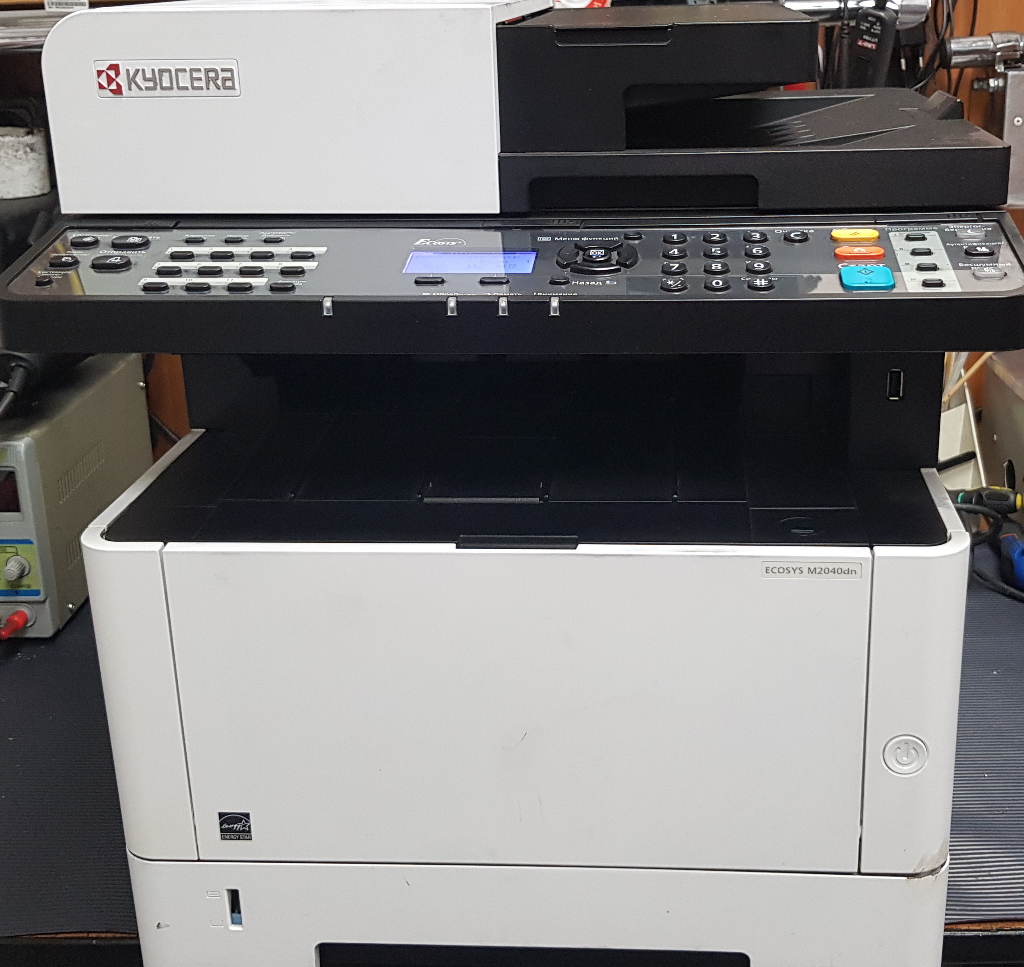
Итак мы имеем типовую проблему в аппаратах Kyocera последних поколений — износ и повреждение узла закрепления изображения — печки.
Пациент:
![](http://www.comland.tech/wp-content/uploads/2021/01/20201030_163522.jpg)
![](http://www.comland.tech/wp-content/uploads/2021/01/20201030_163526.jpg)
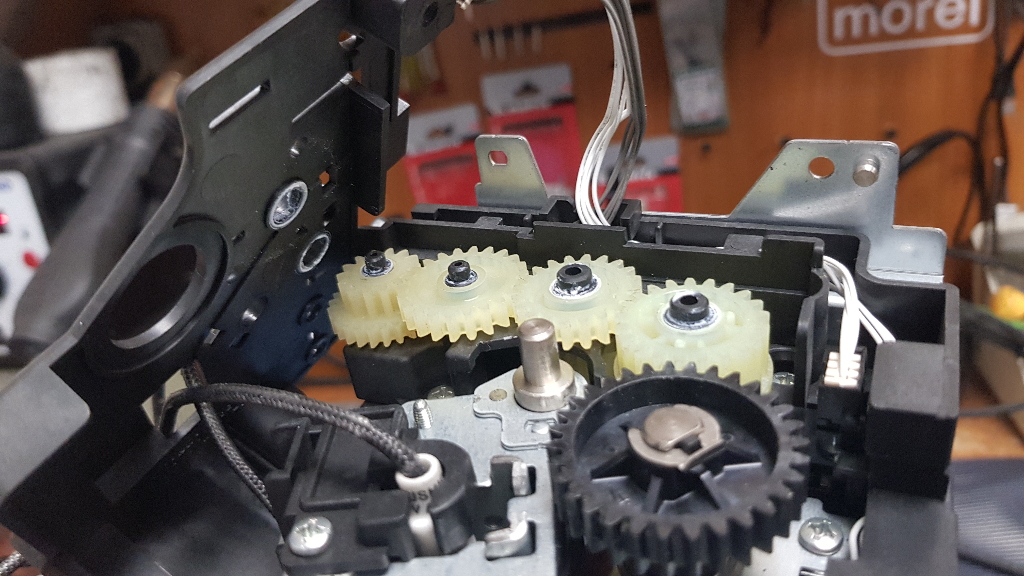
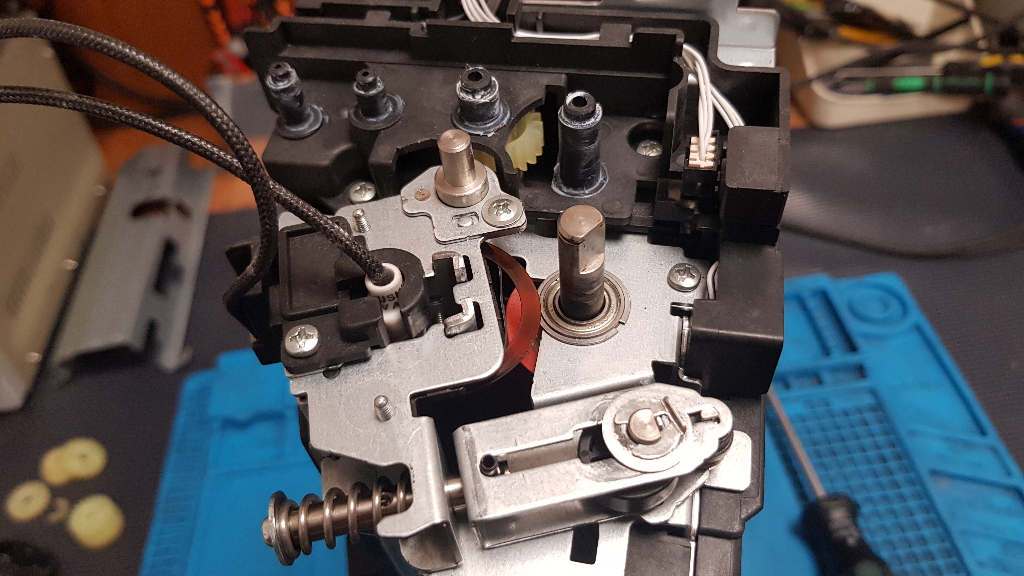
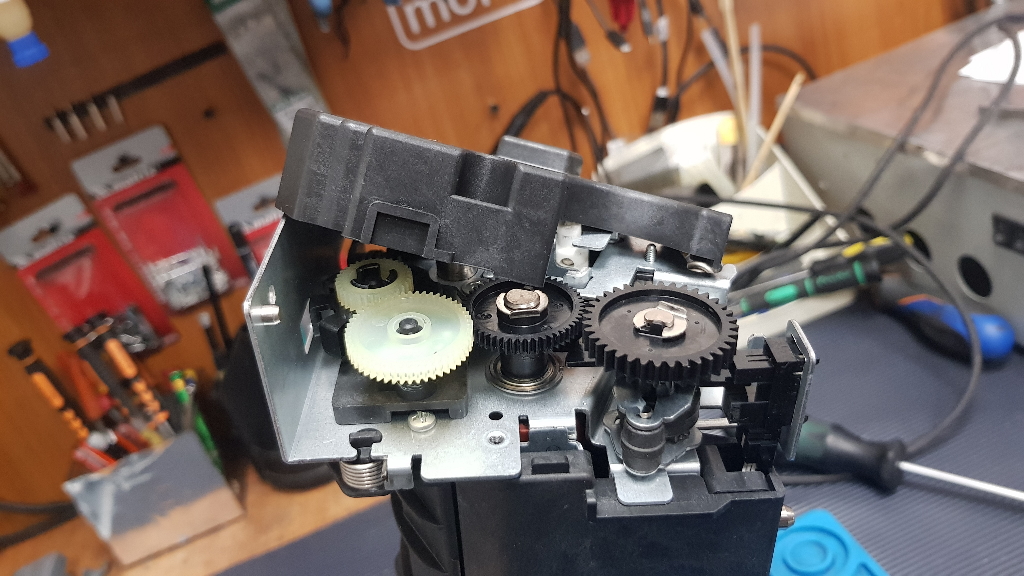
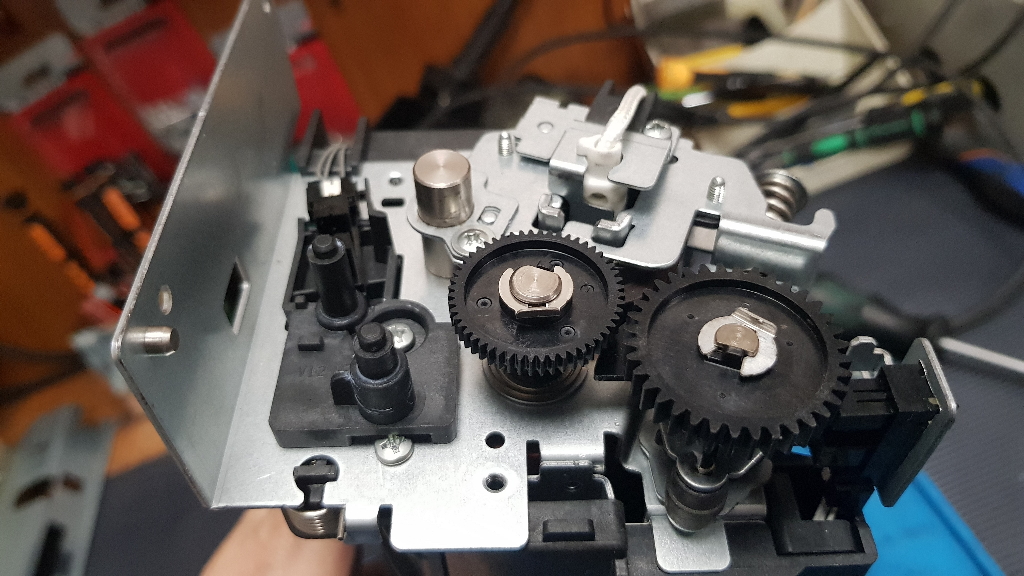
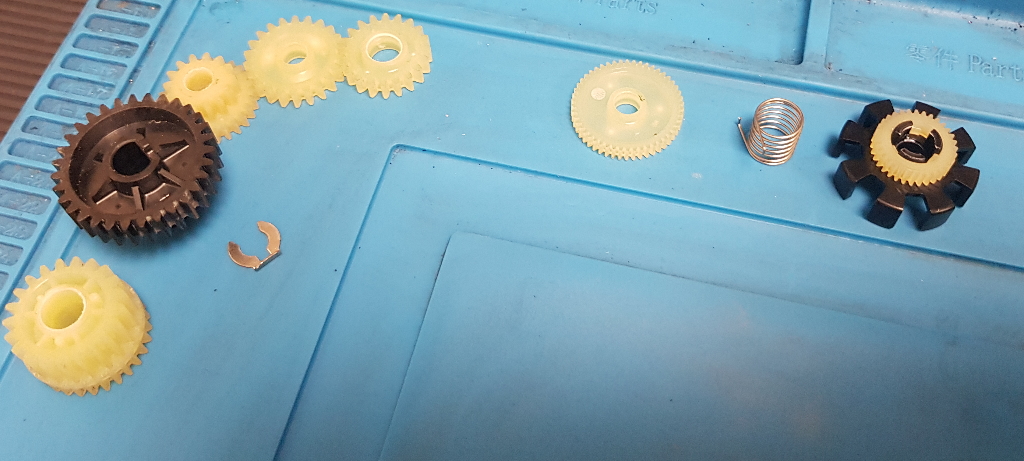
Берем отвертки и приступаем к разборке:
![](http://www.comland.tech/wp-content/uploads/2021/01/20201030_164329-700x1024.jpg)
![](http://www.comland.tech/wp-content/uploads/2021/01/20201030_164349-815x1024.jpg)
![](http://www.comland.tech/wp-content/uploads/2021/01/20201030_164409-576x1024.jpg)
![](http://www.comland.tech/wp-content/uploads/2021/01/20201030_164437-940x1024.jpg)
![](http://www.comland.tech/wp-content/uploads/2021/01/20201030_164446-576x1024.jpg)
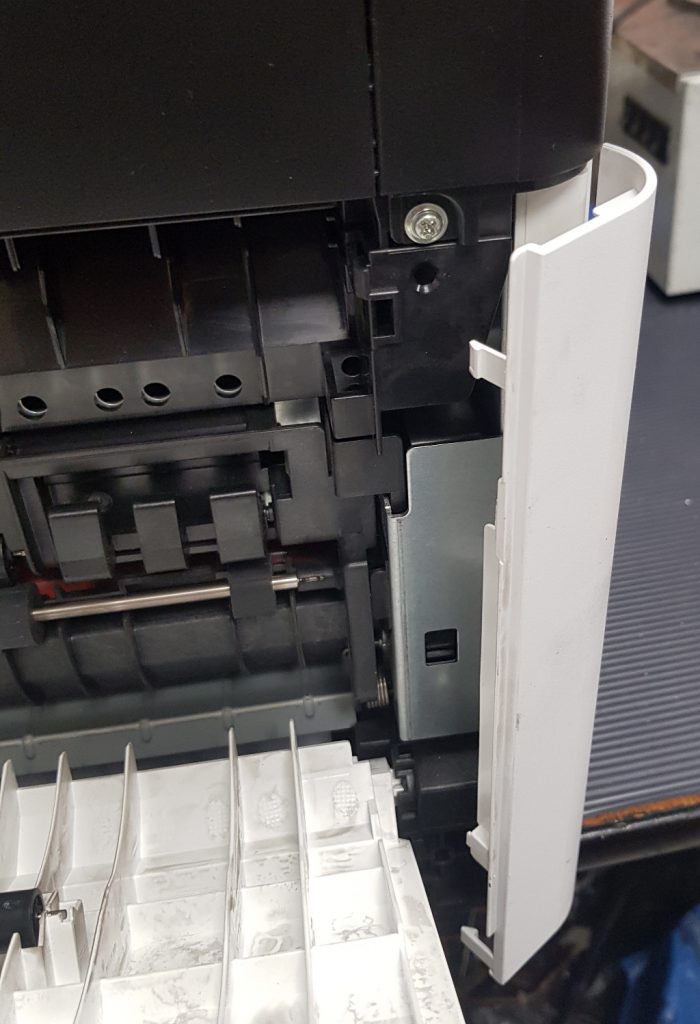
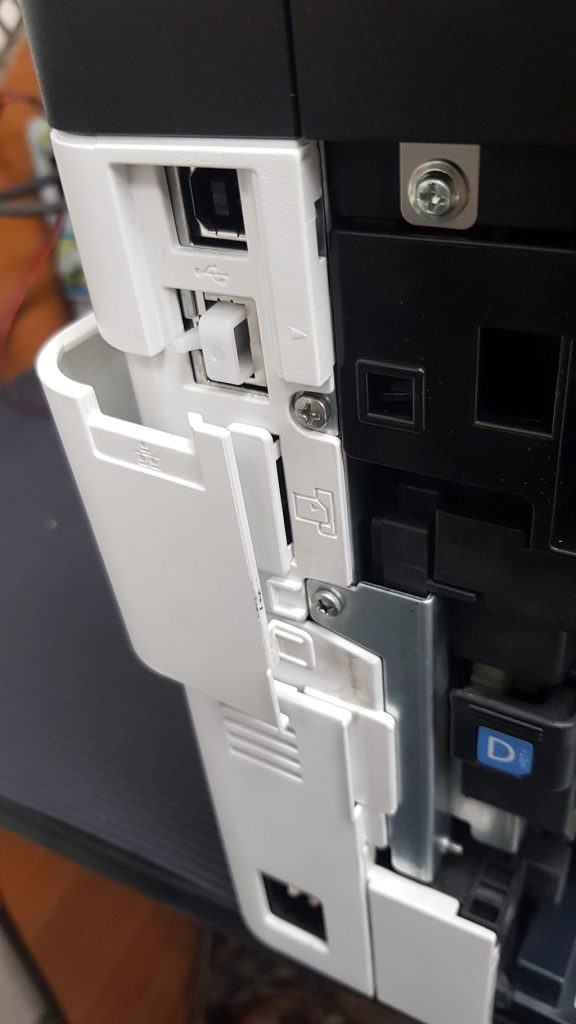
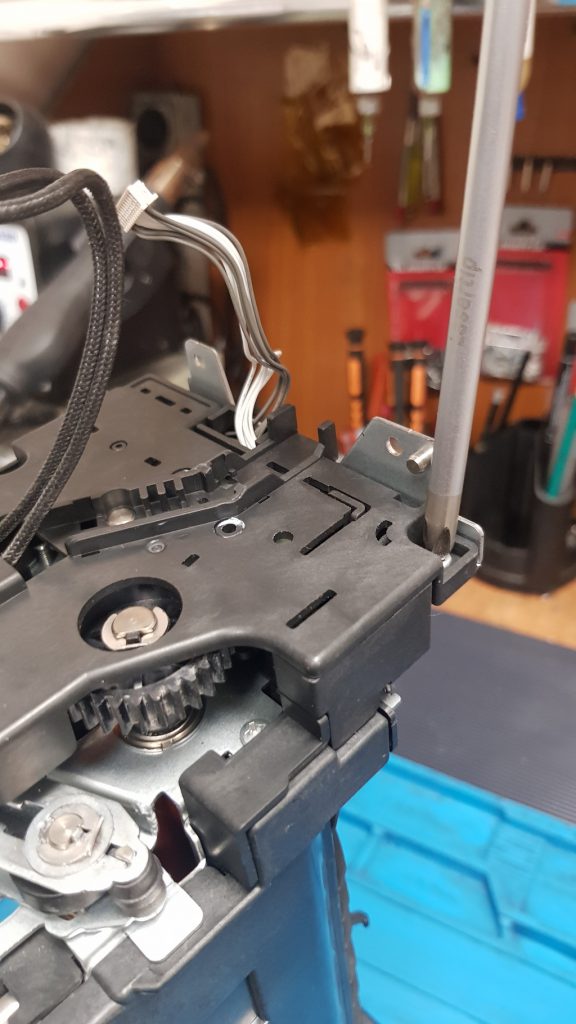
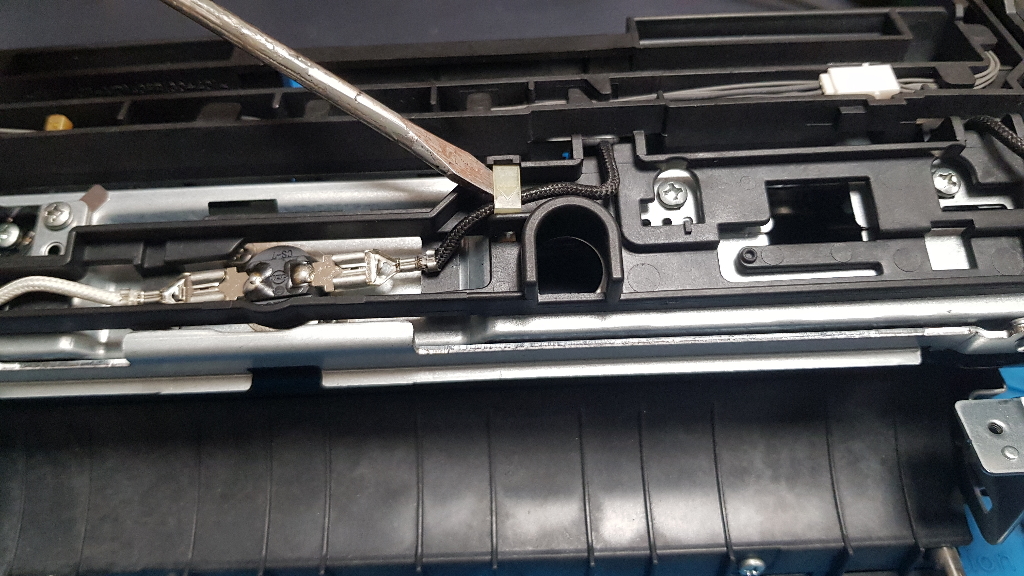
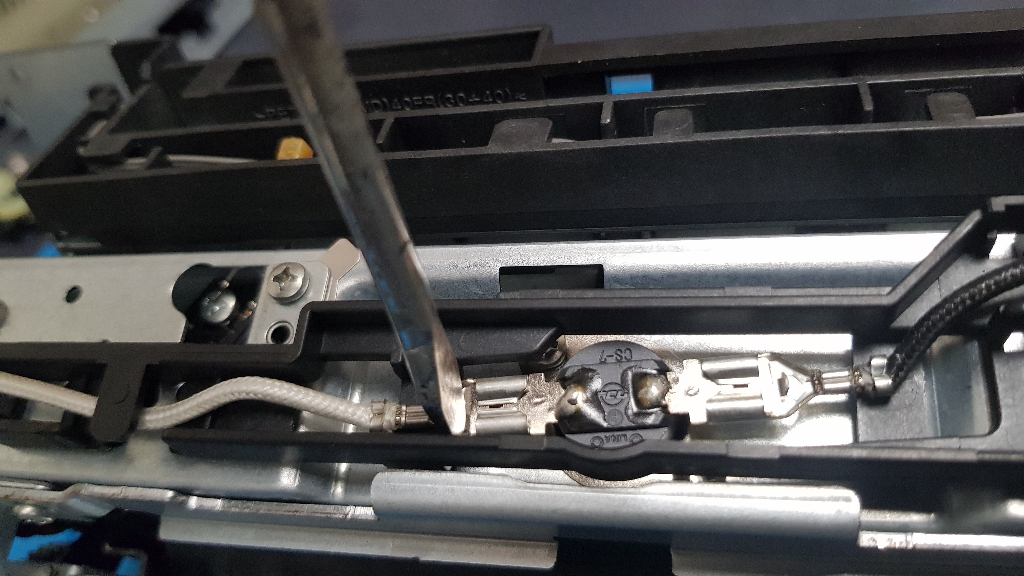
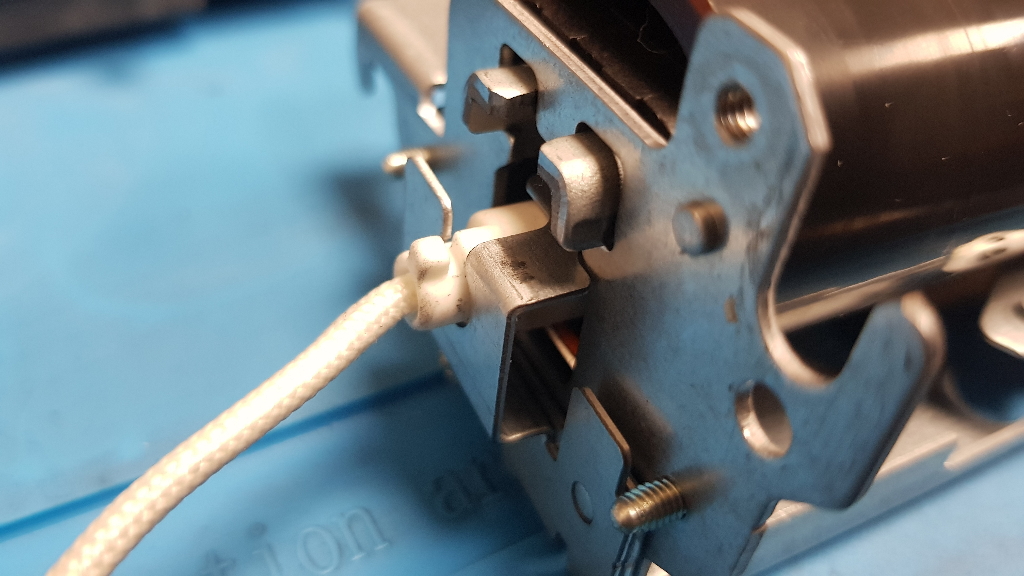
Не забываем отсоединить шлейфы термоузла
![](http://www.comland.tech/wp-content/uploads/2021/01/20201030_164529-952x1024.jpg)
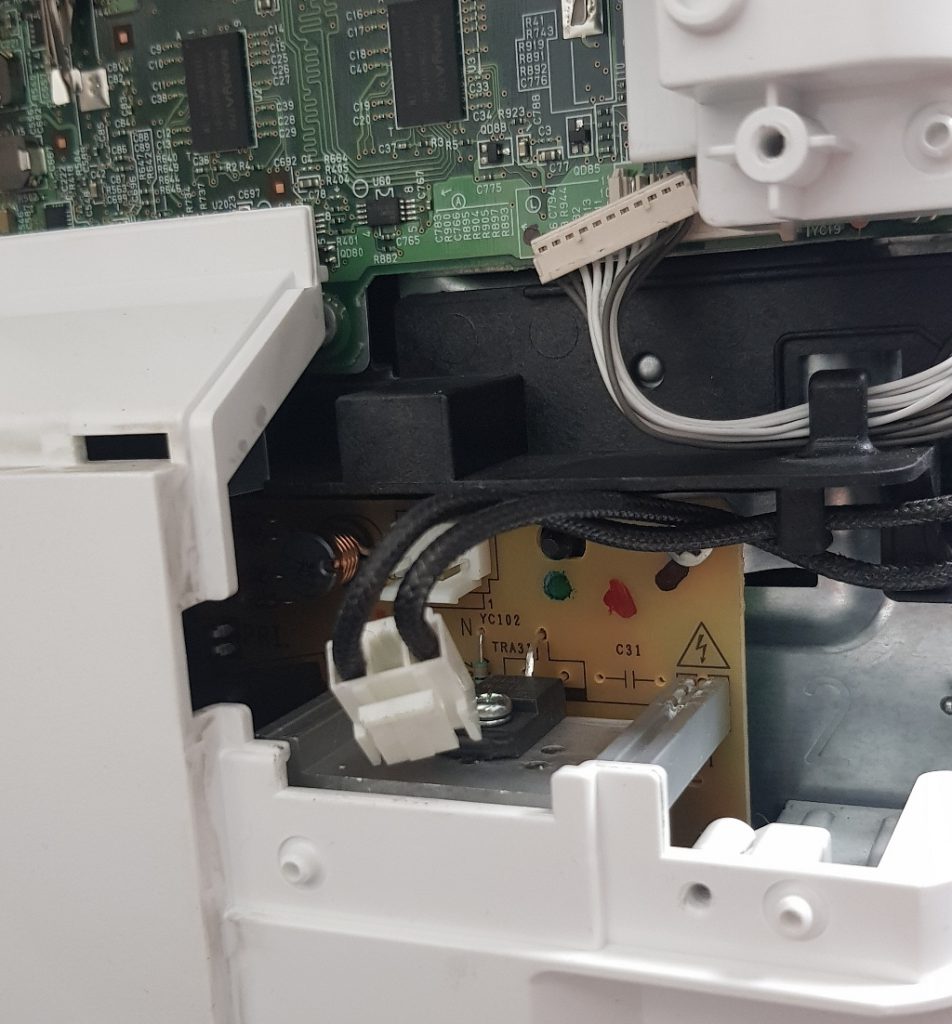
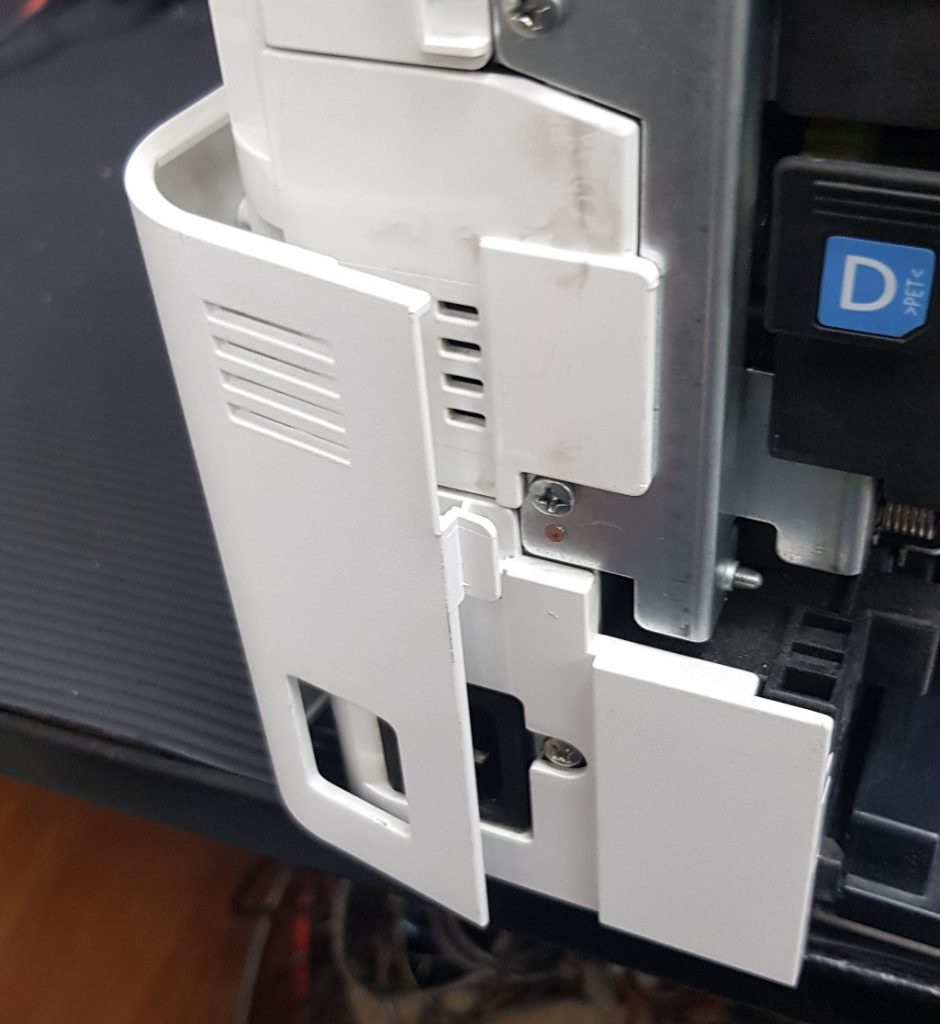
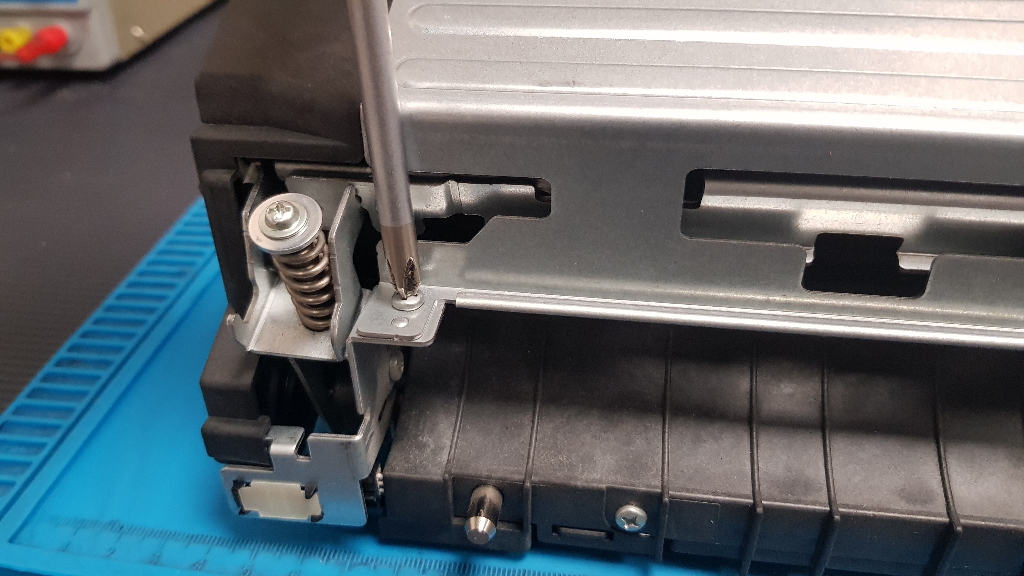
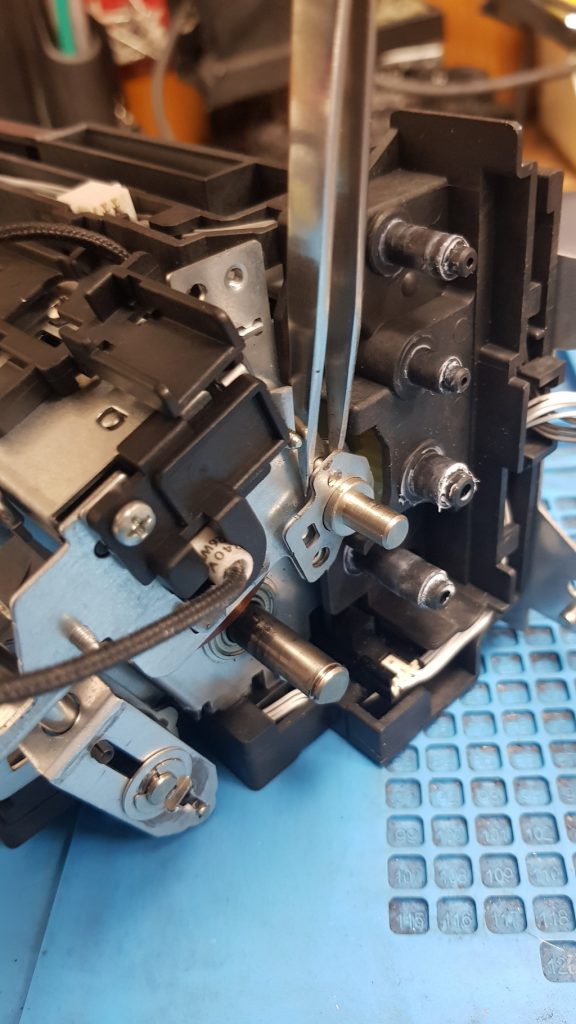
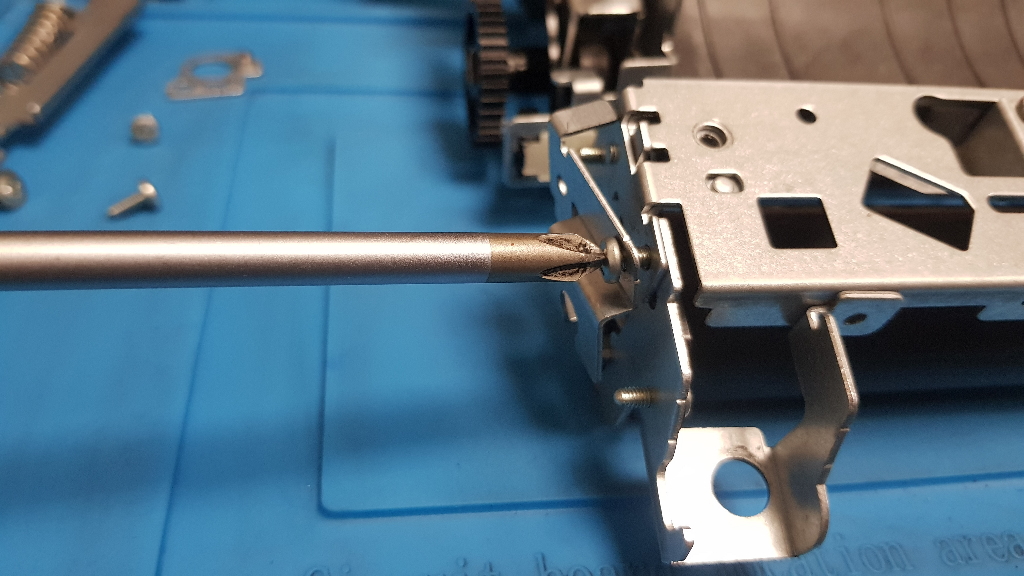
Далее выкручиваем винты, крепящие термоузел
![](http://www.comland.tech/wp-content/uploads/2021/01/20201030_164546-734x1024.jpg)
![](http://www.comland.tech/wp-content/uploads/2021/01/20201030_164635.jpg)
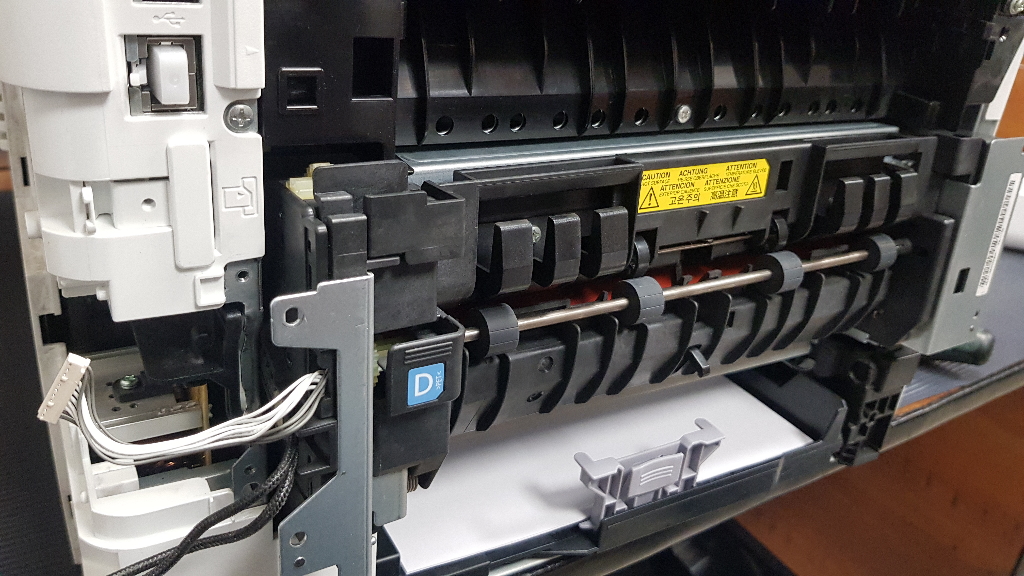
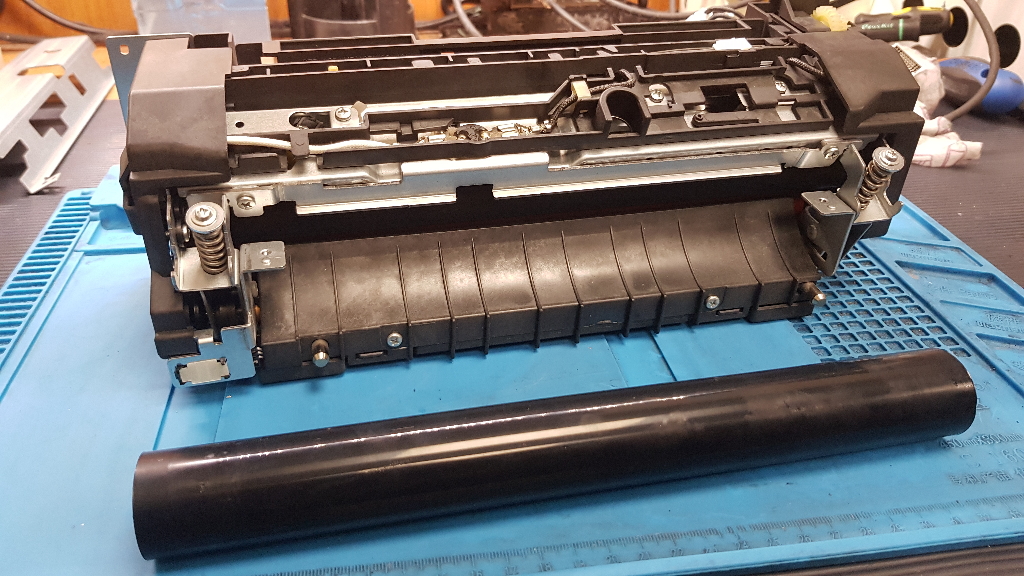
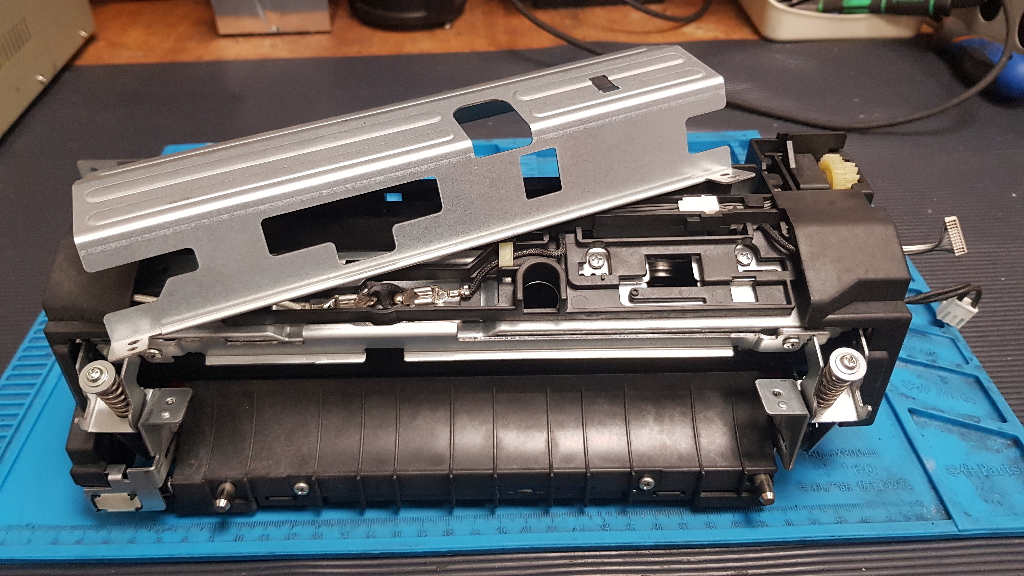
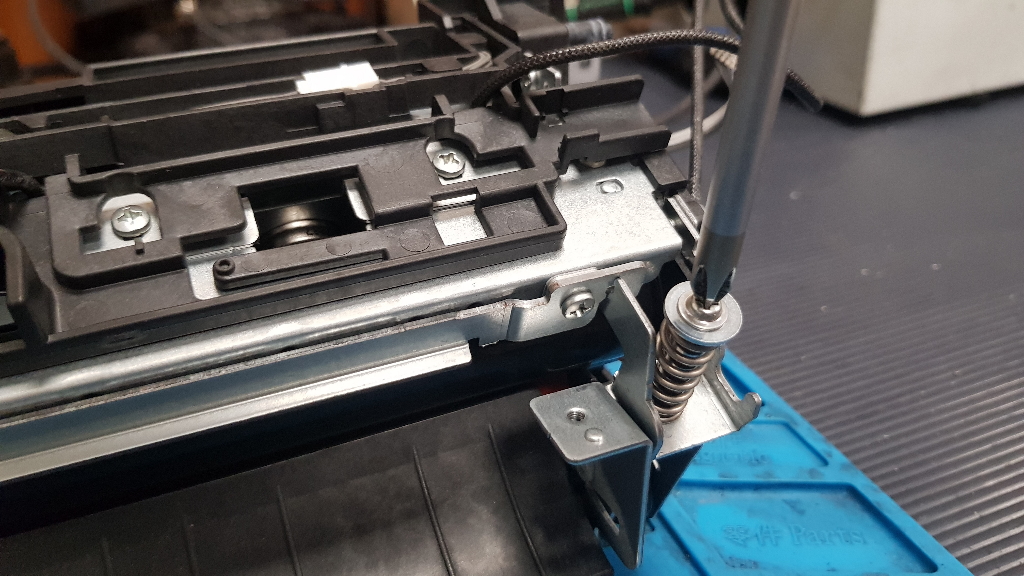
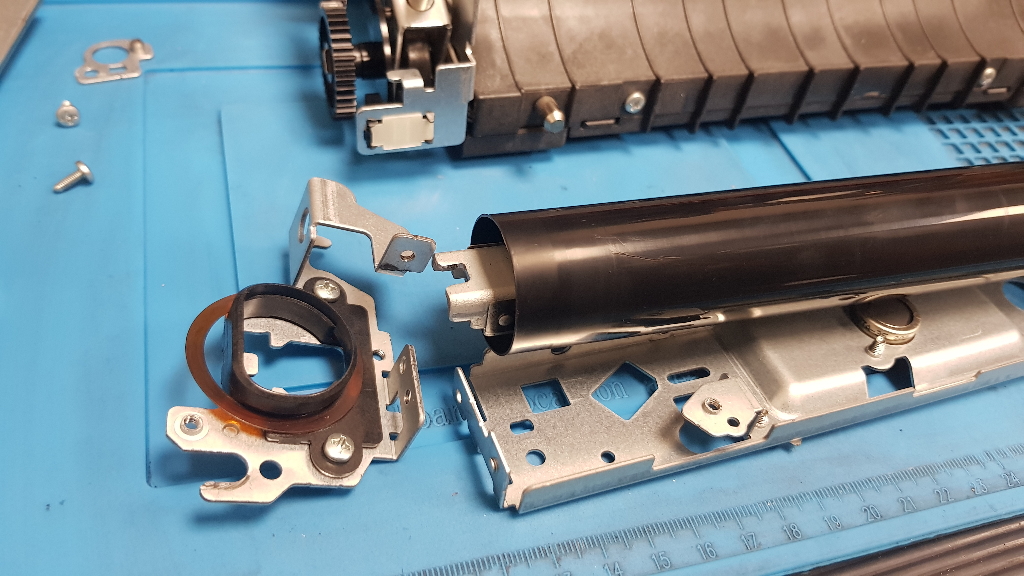
Достаем термоблок и приступаем к его разборке
![](http://www.comland.tech/wp-content/uploads/2021/01/20201030_164713.jpg)
![](http://www.comland.tech/wp-content/uploads/2021/01/20201030_164726.jpg)
![](http://www.comland.tech/wp-content/uploads/2021/01/20201030_164805.jpg)
![](http://www.comland.tech/wp-content/uploads/2021/01/20201030_164825-576x1024.jpg)
![](http://www.comland.tech/wp-content/uploads/2021/01/20201030_164847-576x1024.jpg)
![](http://www.comland.tech/wp-content/uploads/2021/01/20201030_164920.jpg)
![](http://www.comland.tech/wp-content/uploads/2021/01/20201030_164947.jpg)
![](http://www.comland.tech/wp-content/uploads/2021/01/20201030_165002.jpg)
![](http://www.comland.tech/wp-content/uploads/2021/01/20201030_165024.jpg)
![](http://www.comland.tech/wp-content/uploads/2021/01/20201030_165056.jpg)
![](http://www.comland.tech/wp-content/uploads/2021/01/20201030_165118.jpg)
![](http://www.comland.tech/wp-content/uploads/2021/01/20201030_165143.jpg)
![](http://www.comland.tech/wp-content/uploads/2021/01/20201030_165207.jpg)
![](http://www.comland.tech/wp-content/uploads/2021/01/20201030_165220.jpg)
![](http://www.comland.tech/wp-content/uploads/2021/01/20201030_165300.jpg)
![](http://www.comland.tech/wp-content/uploads/2021/01/20201030_165332.jpg)
![](http://www.comland.tech/wp-content/uploads/2021/01/20201030_165425-576x1024.jpg)
![](http://www.comland.tech/wp-content/uploads/2021/01/20201030_165505-576x1024.jpg)
![](http://www.comland.tech/wp-content/uploads/2021/01/20201030_165532.jpg)
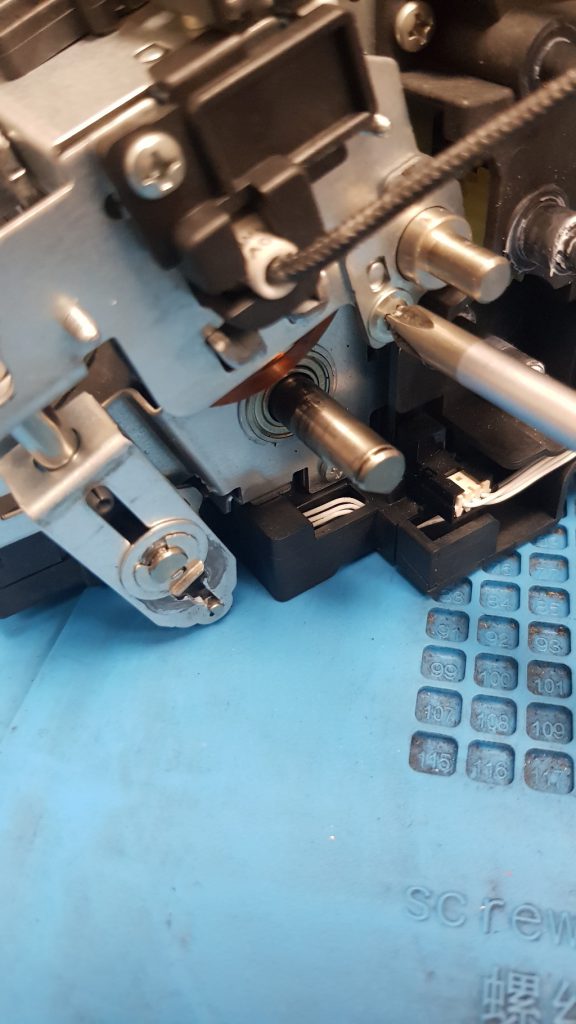
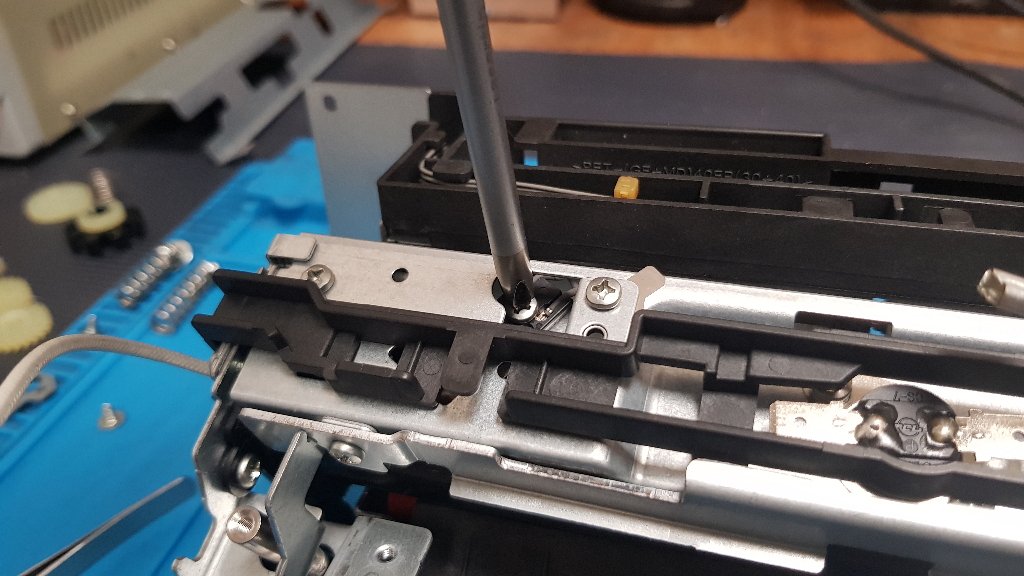
Не забываем открутить термодатчик
![](http://www.comland.tech/wp-content/uploads/2021/01/20201030_165549.jpg)
![](http://www.comland.tech/wp-content/uploads/2021/01/20201030_165819.jpg)
![](http://www.comland.tech/wp-content/uploads/2021/01/20201030_165833.jpg)
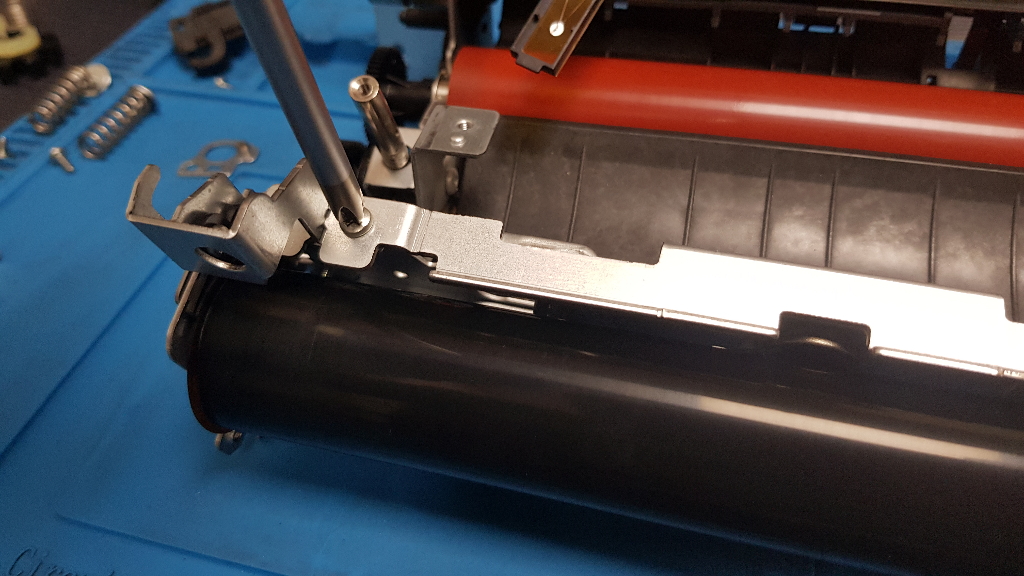
Максимально аккуратно достаем нагревательных элемент
![](http://www.comland.tech/wp-content/uploads/2021/01/20201030_165918.jpg)
![](http://www.comland.tech/wp-content/uploads/2021/01/20201030_165959.jpg)
Нагревательный элемент очень хрупкий, также его категорически нельзя трогать руками!
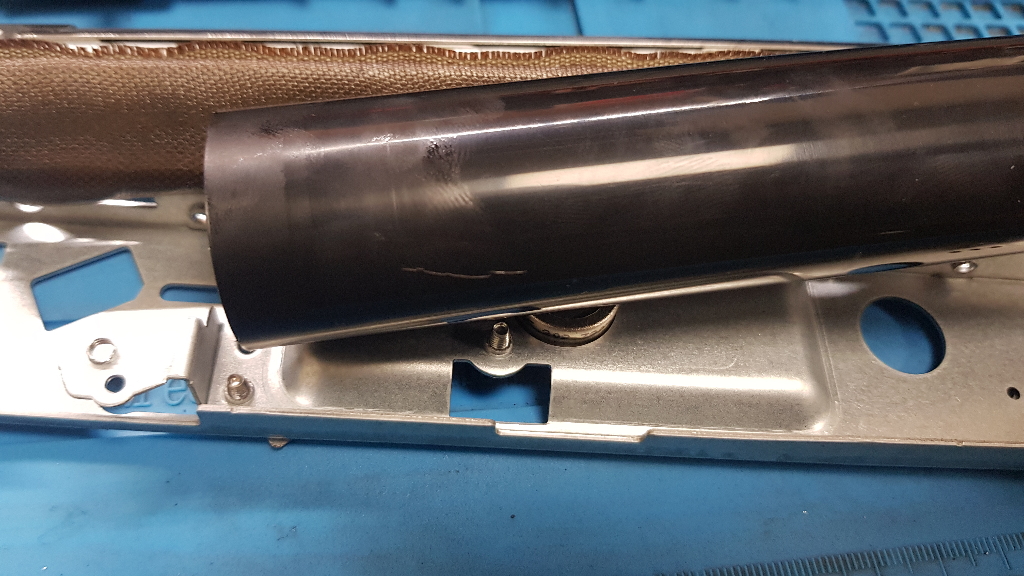
![](http://www.comland.tech/wp-content/uploads/2021/01/20201030_170027.jpg)
Снимаем термопленку
![](http://www.comland.tech/wp-content/uploads/2021/01/20201030_170059.jpg)
![](http://www.comland.tech/wp-content/uploads/2021/01/20201030_170136.jpg)
![](http://www.comland.tech/wp-content/uploads/2021/01/20201030_170215.jpg)
![](http://www.comland.tech/wp-content/uploads/2021/01/20201030_170243.jpg)
На старой термопленке присутствую «заломы», из-за которых, происходит смазывание изображения, при закреплении.
![](http://www.comland.tech/wp-content/uploads/2021/01/20201030_170355.jpg)
Достаем новую термпленку
![](http://www.comland.tech/wp-content/uploads/2021/01/20201030_170416.jpg)
![](http://www.comland.tech/wp-content/uploads/2021/01/20201030_170541.jpg)
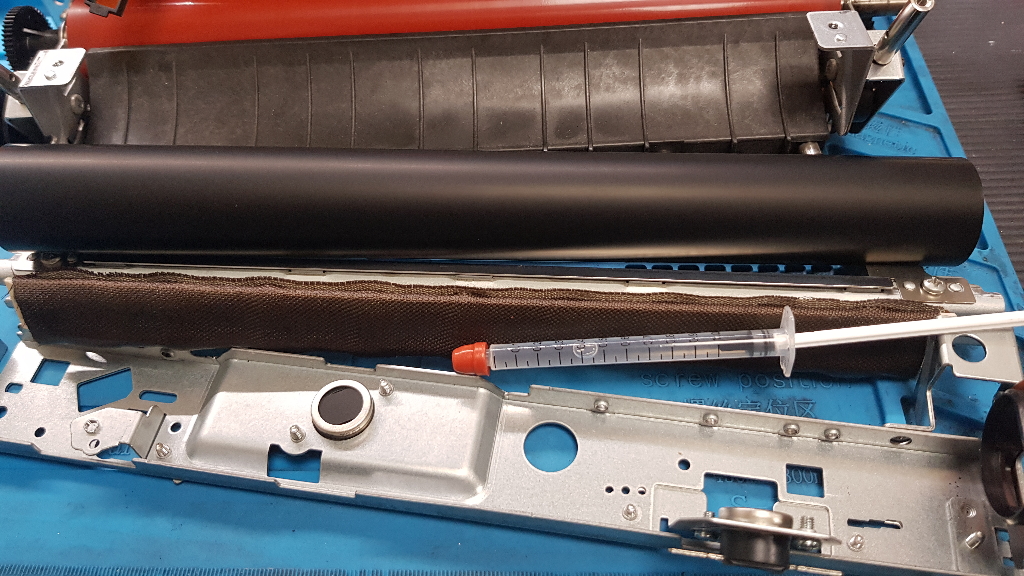
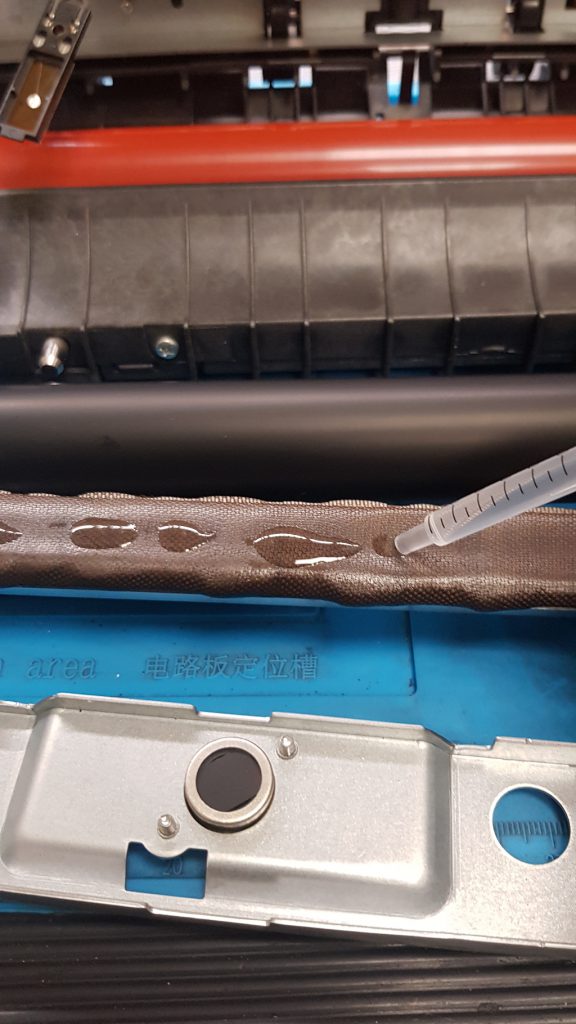
Добавим силиконовой смазки на тканевую прокладку
![](http://www.comland.tech/wp-content/uploads/2021/01/20201030_170715-576x1024.jpg)
![](http://www.comland.tech/wp-content/uploads/2021/01/20201030_170839.jpg)
Собираем все в обратной последовательности
![](http://www.comland.tech/wp-content/uploads/2021/01/20201030_171107.jpg)
![](http://www.comland.tech/wp-content/uploads/2021/01/20201030_171850.jpg)
Печатаем 20 листов — принтер исправно работает!
![](http://www.comland.tech/wp-content/uploads/2021/01/20201030_172853.jpg)
Общая стоимость ремонта составила 2500р.